In industry, soldering and brazing probably ranks second only to heat treating in the use of induction heating. With a small but powerful heater such as the Roy, that capability is now available to small business and home users.
Soldering is one of the more difficult jobs for low power induction heaters because copper is usually the material being soldered. Copper is the second best electrical conductor which means that lots of current must be induced into the work to cause sufficient heating to melt the solder or braze alloy. A standard Roy can do the job but if the application is exclusively soldering, such as on a light production line, then we like to make a custom version Roy optimized for soldering or brazing.
 [1]
[1]
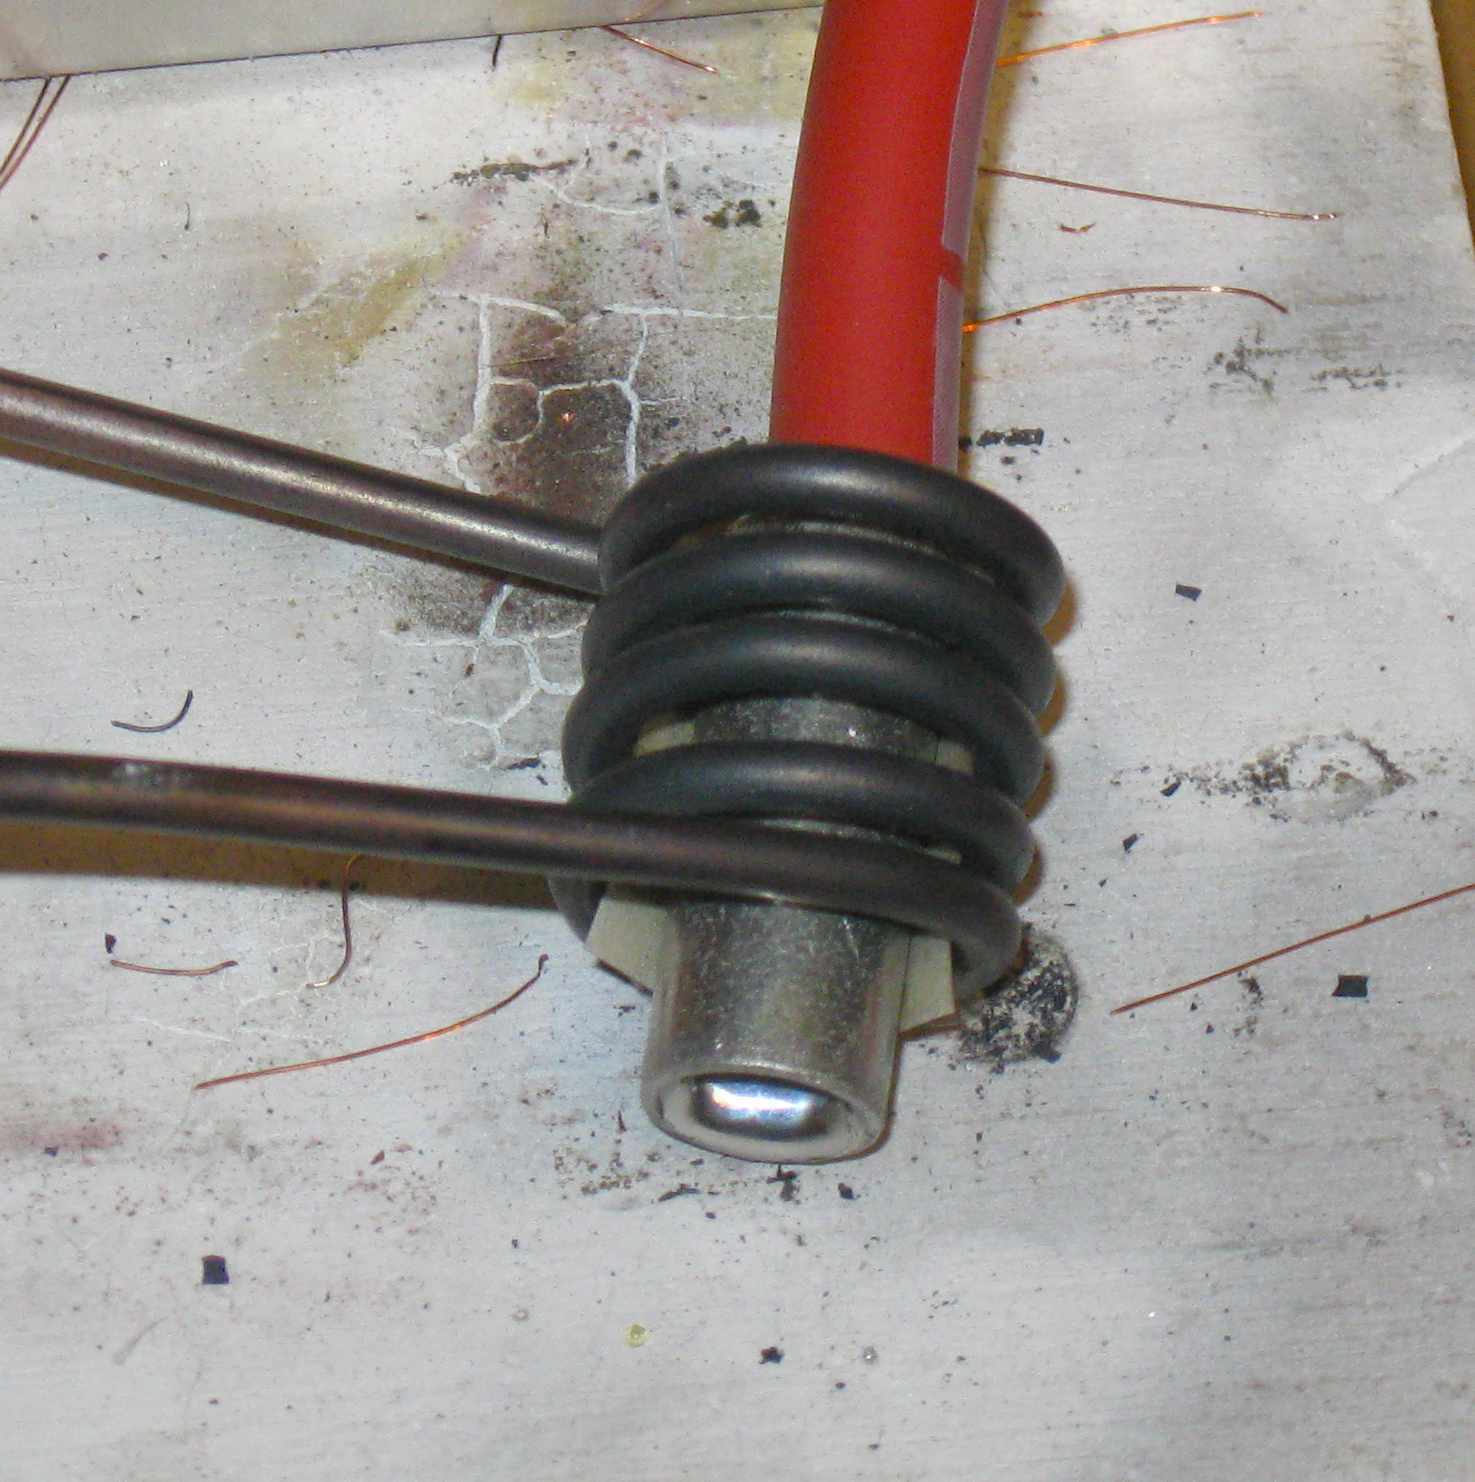
Here is a typical situation. A connector is to be soldered to a piece of heavy cable. (Yeah, I know that it’s a crimp-type barrel connector but it works just fine being soldered). Preferably we’d like to avoid burning or discoloring the insulation and the connector. That rules out a torch as the heat source. A large soldering gun might provide enough heat but it brings up another problem. It takes so long to heat the connector to soldering temperature that a considerable length of wire gets hot enough for the solder to wick down it. The wire is therefore stiff for a considerable distance from the connector.
Induction heat is perfect for this application. It heats fast and clean. The joint can be completed before the wire back of the connector has time to heat up and wick solder. The concentrated heat heats the connector and not the insulation.
In the above photo, the barrel connector is resting on a piece of high temperature fish paper (available from Fluxeon [2]®) to prevent it from shorting the work coil. Soldering paste was used, though wire solder could just as well have been fed into the joint after it heated up.
 [3]
[3]
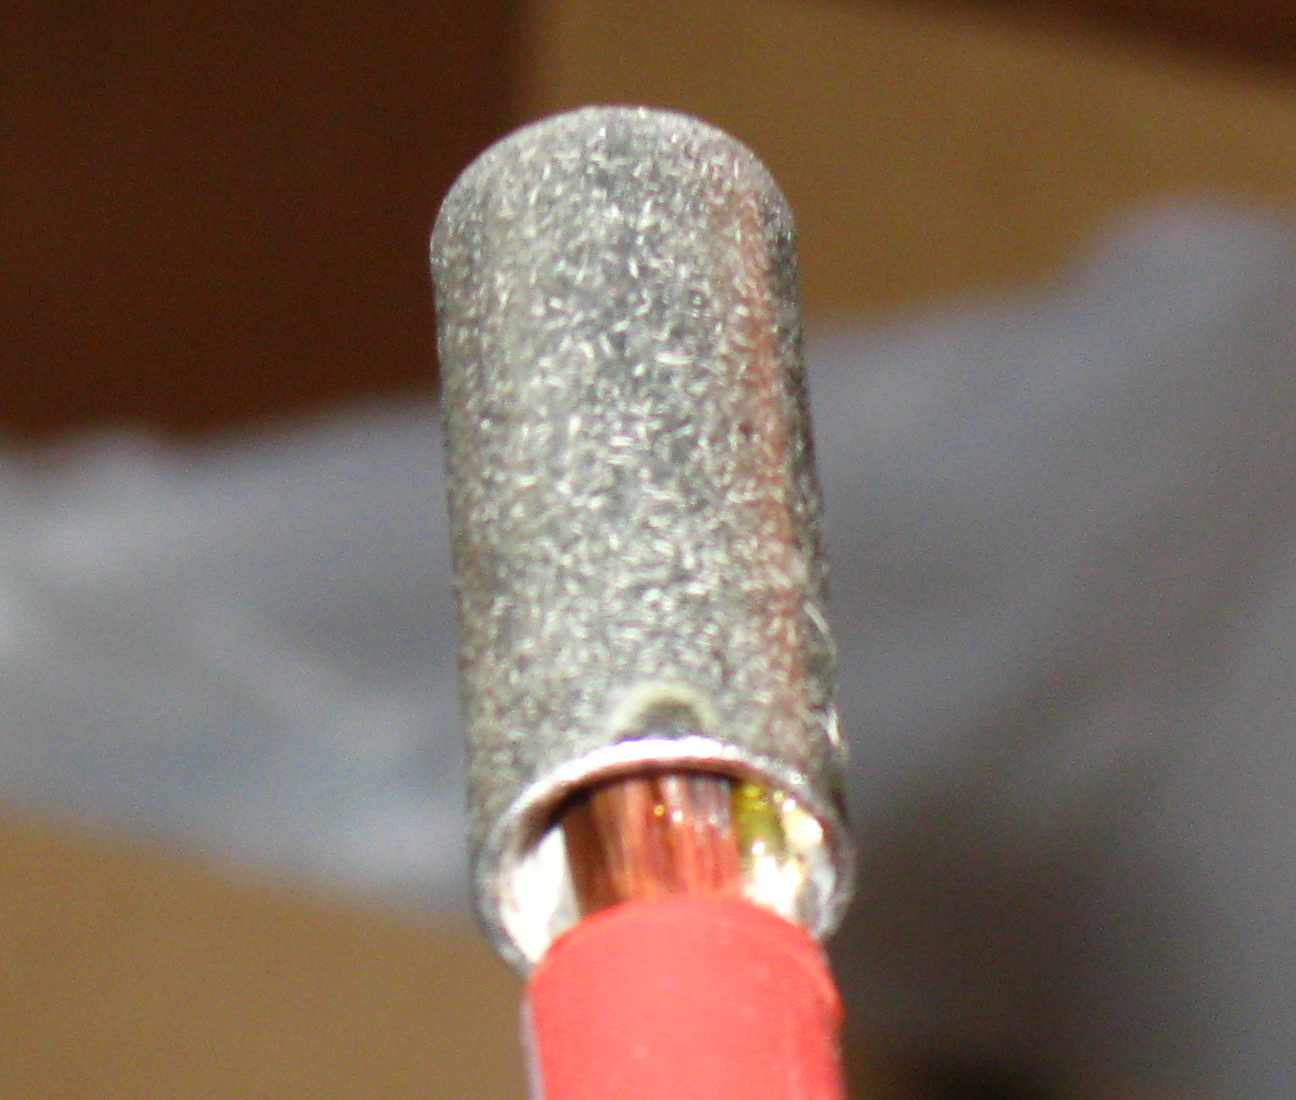
Here is the result. The connector is firmly soldered to the cable and yet the cable did not get hot enough to wick the solder even back to the insulation. The insulation is intact. The edge from being stripped is still sharp and clean. Total heating time was about 45 seconds.
 [4]
[4]
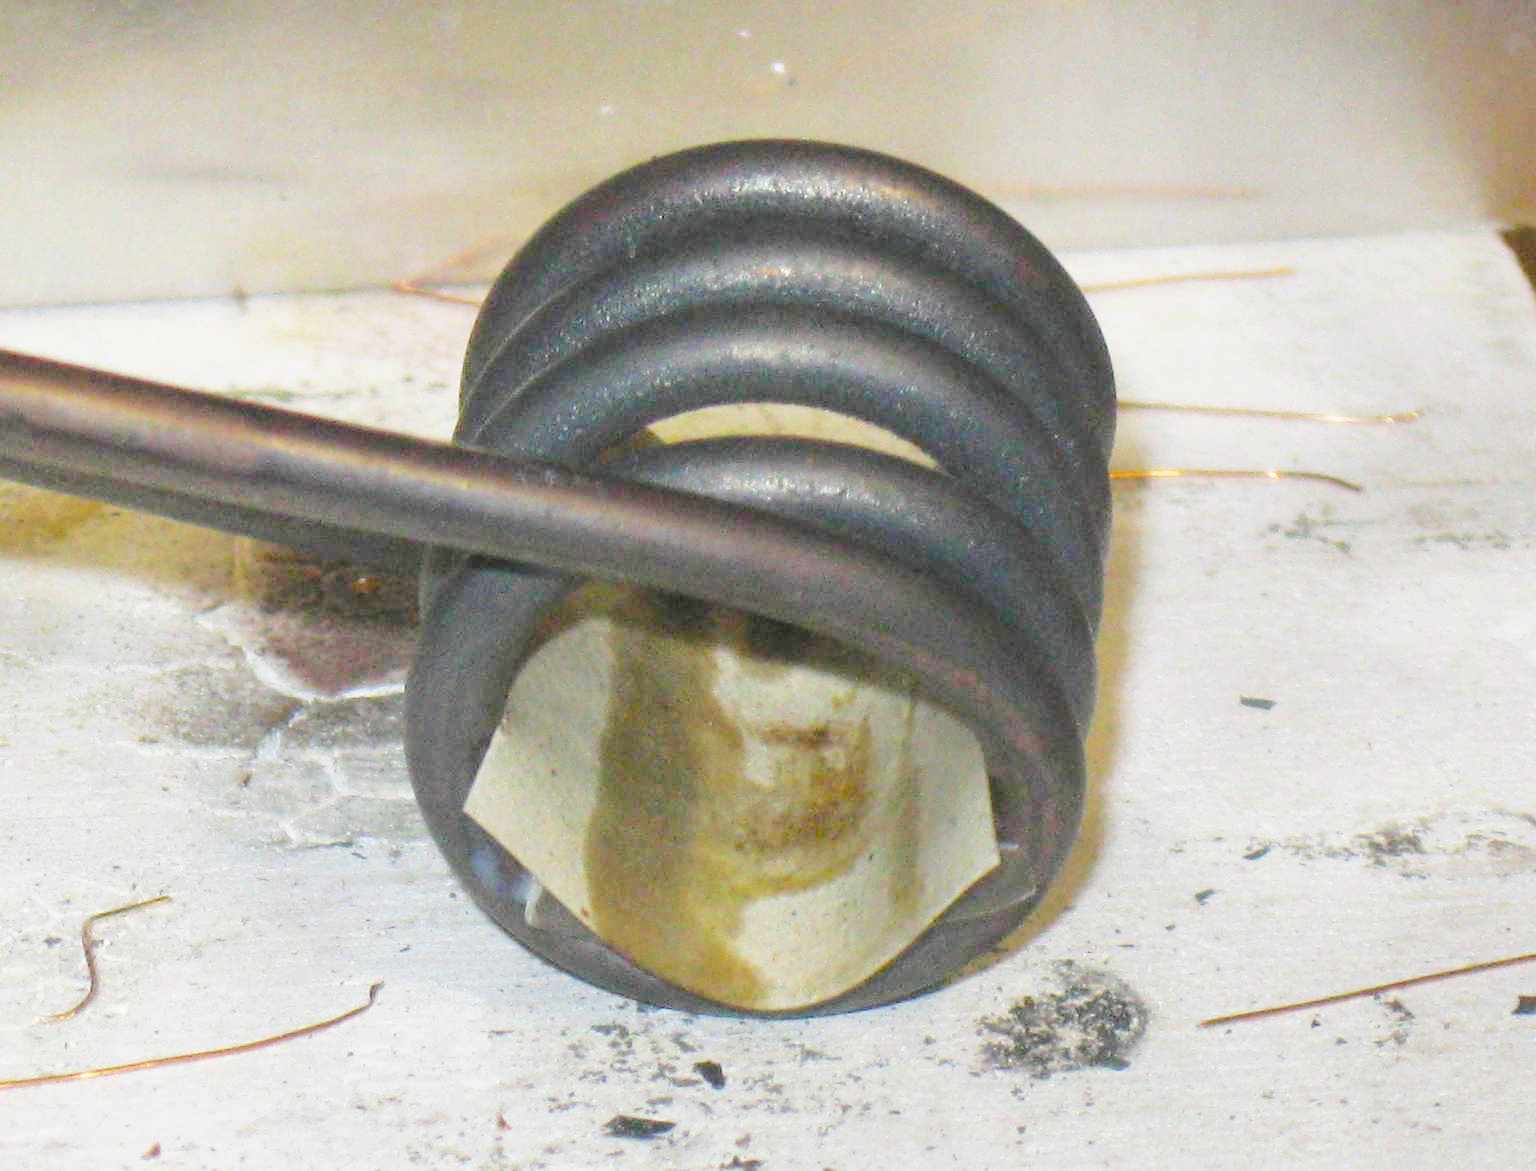
This photo shows the work coil and fish paper after the job is complete. Notice that the paper is not burned, only wetted with flux. Another connector can be soldered by merely inserting it into the work coil. In a production environment a connector could be done about every minute.
 [5]
[5]
This photo highlights another common application, especially with automotive work – the need to go from one size wire to another. Of course, one could just use the larger barrel splice and over-crimp the small side. This might work – for awhile – but it looks sloppy.
I needed such a connector recently for one of my electric vehicles. Rather than have to order a reducer, pay an exorbitant price and have to wait on it, I made my own. I bored out the larger connector until the smaller one slid in. I applied some solder paste and induction heated it. About 40 seconds’ heating was sufficient. As you can see, the connector remains very clean and with no scorch marks.
A frequent question is, Can Roy be used to do household or refrigeration copper tubing. The answer is, I don’t know because I haven’t tried it yet but probably not, at least for the larger sizes. The reason is that Roy doesn’t have the power to heat the relatively massive amount of copper involved. Fluxeon® is working on a higher powered unit but that is in the future. When I get time I’m going to see if I can set up a custom-designed Roy that will do a satisfactory job on plumbing copper. I think that I can.